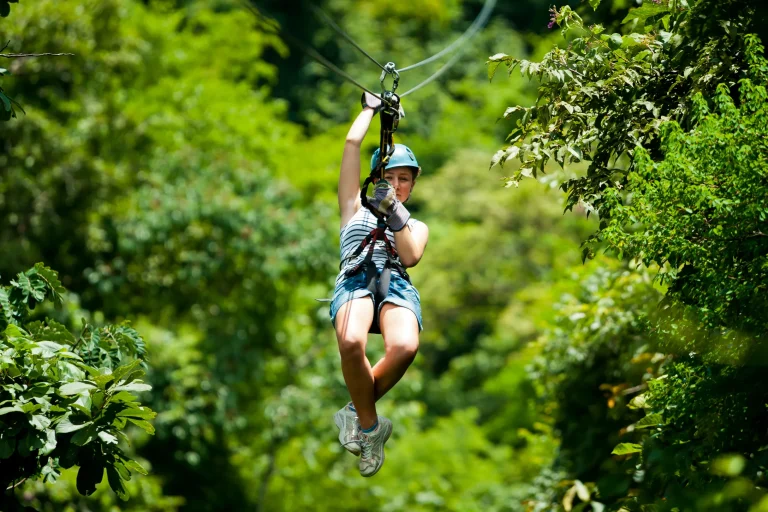
You start at check-in with a map, a waiver, and a guide who talks you through each step like it’s no big mystery. You feel the harness webbing snug at your waist and thighs, then hear the clean click of two carabiners locking in. A practice line lets you test your grip before the stairs show up. On the first platform, you get one calm cue, feet up, and you wonder what else they’ll do to keep you steady.
Key Takeaways
- Arrive early for waivers, map review, and a calm gear-fitting process with staff noting jitters or accessibility needs.
- Guides fit full-body harnesses and helmets, then perform hands-on gear inspections before the first zip.
- A clear safety briefing teaches hand signals, braking, hand placement, and exactly what happens if you miss a platform.
- Nervous riders start with a short practice zip using a double-locked belay system to build confidence before climbing higher.
- On course, guides pace the group, give landing cues, and provide backup support and rescue plans if someone stops mid-line.
Zipline Tour Check-In: What Happens First
Before you even clip in, you’ll roll up a little early and step into the check-in zone where the real adventure quietly starts. You arrive early so you can breathe, scan the maps, and handle check-in without rush. You’ll do waiver signing at a counter that smells like sunscreen and pine. Then you get a quick harness fitting and helmet pick-up while trained guides answer the questions you forgot you had. Next comes a safety briefing with clear hand signals, braking tips, and the plan if you miss a platform. Staff follow with a gear inspection and note any accessibility needs or jitters. You’ll also hear about the tour flow from check-in to the last line so you know what’s coming next. You’ll try a practice zip near the training station, then you’re set with a double-locked belay before you head up stairs.
How Guides Fit and Re-Check Your Gear
You’ll step up to the fitting area and watch your nerves drop a notch as the guides take over the details. They slide you into a full-body harness, tug the straps, and line everything up with the required attachment points. You’ll feel the waist and thigh webbing go snug, not squeezing, as they do a hands-on gear check before you ever leave the ground. Next they clip in an always-locked double-locked belay using paired carabiners, then give the metal a quick shake so it rings. They’ll also explain how primary and backup brakes work together to control speed and add redundancy on the line. Before each ride, they run a visual inspection of your tethers and trolley. At every launch platform they re-check connections and your fit, while staff below stay ready if you call out. Start with the safety briefing. You’re set.
Safety Briefing Rules Nervous Beginners Must Know
Once the guides call everyone in for the safety briefing, treat it like your VIP pass to feeling steady on the platform. You’ll hear step by step harness fitting tips and how the double locked belay system stays clipped. Ask questions right then, and again in the practice session, while they show correct hand placement on the trolley and remind you to sit back. The rules are explained in plain English so you know exactly what each command and check is meant to prevent.
Before you ride, confirm the braking method for this course and copy the exact commands. Keep your hands where told and never grab the cable. Look before you launch so the line and landing are clear. Learn how to self-recover if you miss a platform. If nerves spike or your knees protest, notify staff early. They’ll smile and review it.
On-Course Help and Pacing on Zipline Tours
That safety briefing doesn’t stop working once you step onto the first platform. On a zipline tour, guides stay close, with at least one trained staffer below or beside you at each stop. You’ll hear boots on wood and clipped metal as they check your always-locked belay and LockD Clips, then give pacing cues.
If you feel your knees argue with gravity, say so. They can slow the group and keep you parked while you take a deep breath. If you stop mid-line, guides follow rescue procedures to reach you safely and get you moving again. You’ll get on-course help with hand placement, body angle, and the course’s braking style. At the landing, they call landing cues like “feet up” and “look ahead,” then help you pull in the trolley with the white rope. You move at your tempo, not theirs.
Frequently Asked Questions
Will My Fear of Heights Disqualify Me From Participating?
No, your fear of heights won’t disqualify you; you’ll use fear management through gradual exposure, harness reassurance, guide empathy, breathing techniques, visual distractions, peer support, confidence building, pre ride briefing, and mental rehearsal to ride.
What Weight, Age, or Health Restrictions Apply to Beginners?
Better safe than sorry: you’ll face age limits and weight limits, complete health screening, pregnancy restrictions, sign medical waivers, request mobility accommodations, mind BMI considerations, follow cardiac cautions, heed medication advisories, and meet respiratory requirements.
Can I Bring My Phone or Camera on the Zipline?
Yes, you can bring phone or action cameras; follow phone policies and camera restrictions: skip selfie sticks, use mountable housings, helmet mounts, waterproof cases, and secure straps for operator inspection, and you’ll sign electronics waiver.
What Happens if Bad Weather Cancels the Tour?
If weather cancels, theory says you lose, you don’t: weather refunds/credit per cancellation insurance. Guide communication follows equipment checks, safety briefings, rain delay protocols, reduced capacity, alternate routes, emergency shelters, shuttle arrangements for you today.
Are Refunds or Rescheduling Allowed if I Panic Before Starting?
If you panic pre-start, you’ll get day of rescheduling or partial credit options; on site refundability varies. Check panic trigger policies, cancellation windows, pre tour deposits, last minute cancellations, transferable bookings, voucher extensions, emergency waivers.
Conclusion
By the time you step onto the first platform, you’ve done the hard part. You signed the waiver, studied the map, and felt the harness cinch snug at your waist and thighs. A guide clips in two locked carabiners and checks them again, like double-knotting a shoelace before a long walk. On my last tour, they re-checked my line at every stop, six times in all. The cable hums, the trees rush, and you breathe easier.